
The Seven Steps to Locating
I started in this industry close to 17 years ago with a leading locate manufacturer. I had a small amount of experience in the electronics industry but was not prepared for how much technical detail was involved with locating and locator technology, I was in for a steep learning curve. My initial teacher was not very good, so I fumbled around with a locator; not getting very far and scratching my head many times trying to work out why I was getting such mixed results. On the second or third month, I was offered a life line by a person called Jerry Palmer, Jerry had been in the industry 20-odd years in the US and had a wealth of experience in the use of locating technology.
The one thing in this industry is that you never stop learning, I have picked the brains of some extremely good locators who have wished to share with me. I have also had the opportunity of resolving or working with utility asset owners who have had problems with their network and was able to provide solutions using locator technology. This is where you learn all those little things that you may not have thought of or known about. My next significant teacher, Doug Reitz, another leading manufacturer of locators in the US, was able to teach me the fundamentals of evolving technology. Every time I visit the US I learn a little more of the intricate details of locator technology from Doug.
Enough of the history; let’s move to what the article is about, “The Seven Steps to Locating”. When locating, I was taught to use the controls and information from your transmitter and receiver to achieve the best results. I never really followed a process – just connected and located and once I finished moved to the next asset. Over time I was able to set up a process, my goal was to get it under ten steps, so it would be easy to remember when in the field.
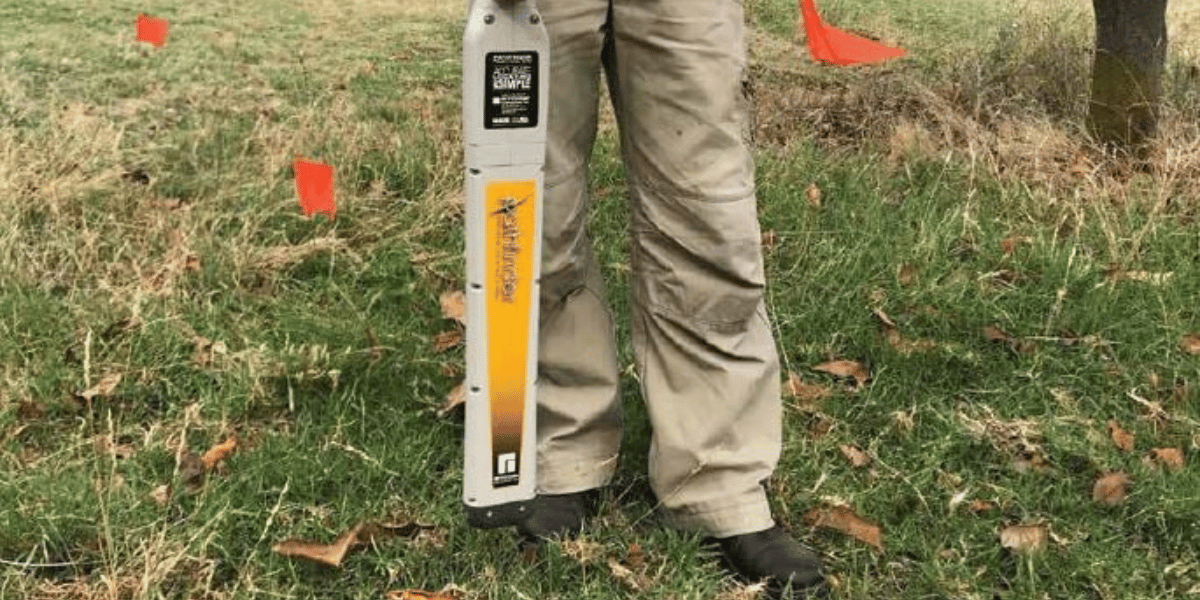
STEP 1 DBYD, SAFETY, VISUAL & AS 5488
This step is more about paperwork & safety. Preparation before locating is extremely important. There is critical material provided that should not be ignored. DBYD is the first starting point but a lot of the information provided is overlooked or misunderstood. The cover sheets and duty of care provided with the asset owners offer important safety advice, along with instructions and guidelines that may be enforced by the asset owner. Read all the material provided as these change on a regular basis. Having a good understanding of map reading and the symbols used is an essential key to locating.
Safety is drummed into us every day and we can become complacent. Walk around the site as you complete your risk assessment and start looking at the visual clues to indicate what assets are in the ground. Don’t forget to look up for signs of services going from pole to ground. Australia also has a standard (AS 5488) for colour and the level of accuracy for the area being located, which you should utilise to avoid any confusion between parties onsite.
STEP 2 CONNECTION METHOD
Once the paperwork, scope of works and the level of accuracy required from your customer is finalised, you would normally start by connecting to the service to confirm what’s on the plans provided. Use either the direct connect method or induction clamp. Both methods allow you to identify what you are locating as you are physically connecting to the service. I won’t go into detail of how you connect, that requires further training and far more detail then I have space for in this article, but it is important that you understand your transmitter and how the different connection methods work, and how to get the best results using these connections.
. Thiswas done with a two-person sweep.")
Carrying out a blind search as a last check can find unknown services (shown in pink dots). This was done with a two-person sweep.
STEP 3 FREQUENCY SELECTION
Frequency selection is an extremely important part of a good locate. You could write a book on what frequency works best in what area under what soil or earthing conditions. If you don’t understand how frequencies or your transmitter works, I would highly recommend completing training with a quality training company to learn more about the importance of selecting the right frequency for the job at hand.

Selecting the right frequency is important to an accurate trace.
STEP 4 INITIAL SWEEP
This step is so commonly overlooked or done incorrectly. Many locators have missed services due to improperly completing this step. Sweeping around the whole connection area gives you vital information on what services are there, which is your target line or lines and the type of signal quality you are receiving.
STEP 5 TRACING YOUR TARGET LINE
Once you have located your target line(s) it is time to trace the services. Good locator techniques would be utilising your gain correctly and understanding the different modes to determine signal quality from your receiver which are critical for tracing, otherwise you may find yourself marking the ground incorrectly or jumping onto mutually induced (ghost) signals. Tracing from one contact point to another is a great way of having confidence that you are locating the target service.

Check signal quality using your PEAK & NULL, Depth and Current measurement.
STEP 6 DEPTH OR DIRECTION CHANGES
Although this is part of tracing, there are a few extra things you need to do to ensure you continue tracing the target service. When there is a significant change in signal strength most operators simply turn the gain up. This can lead to the locator picking up a mutually induced signal (another service). Understanding your gain control and how to use it correctly along with sweeping around the area for the lost signal will avoid confusion with locating false signals
STEP 7 BLIND SEARCHING
Blind searching is that last step that can confirm services you have already located; it can also assist in locating any unknowns that may not be on the DBYD or may be in the incorrect position. Blind searching uses the transmitter induction method or two-person sweep, along with your passive receiver modes.
I also include GPR and other locate technologies in this final check to be sure you have located all your services to the best of your ability and with the technology available to you.
With the pressures of locating areas in a timely fashion, following a simple process can help you to achieve a good locate and avoid missing services in the locate area. There are many other factors that could change your result and although these seven steps will assist in you becoming a better locator, this is only 50% of the equation to good locating techniques. The National Utility Locators Contractors Association (NULCA) is a good starting point for new operators moving into the industry.
Anthony Johnstone is Director of Access Detection, a leading Australian supplier and trainer of detection equipment. He can be reached at .
![ESM Sidebar Ad[87]](https://excavationsafetyalliance.com/hubfs/ESM%20Sidebar%20Ad%5B87%5D.gif "ESM Sidebar Ad[87]")


Comments